
How To Start an Email List as a Brand New Blogger
This post may contain affiliate links. That means we may make a small commission on items purchased through links in this post at no extra cost to you!
You did it! Cue the confetti, your blog is live and you’ve transformed into a content creating machine but now it’s time to build that list.
No, not your to-do list, I’m talking about your email list.
Why You Need an Email List.
What would you do if tomorrow Facebook, Instagram, Twitter, or Pinterest closed its doors along with all of your followers?
Would your blog survive? How would you reach your readers, your tribe, your loyal fans?
Let me drop a truth bomb, you don’t own your followers or even your social media accounts. That platform does, they could close their doors tomorrow and all your connections would be gone.
Remember Vine? People had their whole businesses built upon their thousands of followers and when Vine went away so did their business. Or look at Logan Paul, Youtuber with millions of subscribers was banned from the site after posting a video that readers and Youtube defined as crossing the line and the money stopped rolling in.
But the thing about your email list is, that baby, is yours! You aren’t controlled by some social media platform that could simply close one day or ban you or kick you out.
So even if your blog is brand new right now, when readers come to your site don’t just hope they will come back. Start building your list for the people who are raising their hands saying “I want what you’re putting out!”. These people are your people, your tribe, and the foundation of your business.
How To Start an Email List As A Brand New Blogger.
- Select an email service.
- Create a lead magnet/opt-in freebie.
- Add opt-in forms to your blog.
- Create a welcome email.
- Nurture and Keep your list warm!
Step 1: Select an Email Service Provider.
There are many Email providers out there, MailChimp, Mailerlite, Convertkit, Drip, and more. Each of these have free options for beginners.
- MailChimp – Free up to 2000 subscribers (This is what I recommend!) – Check them out here.
- Mailerlite – Free up to 1000 Subscribers – Check them out here.
- Convertkit – Free for 14 days, $29 a month up to 1000 Subscribers after that. – Check them out here.
- Drip – Free up to 100 Subscribers. – Check them out here.
I personally started with MailChimp and am still with them. I tried Mailerlite a few months ago because I know a lot of people who love them but I felt like with MailChimp I had more customization and could make prettier emails so I recommend going with MailChimp.
Step 2: Create a lead magnet/opt-in freebie.
Once you’ve selected an email service provider and created your account, it’s time to create your lead magnet or opt-in incentive.
Sure you can get some subscribers by simply saying “Join my email list for updates everytime I post!” but nothing grows that email list faster than a free valuable opt-in. Offering something of value to your reader for free is a great way to build a list of highly engaged subscribers who actually look forward to your emails and will open them!
Your lead magnet should be something digital not physical and something your audience actually wants. This could be a:
- Checklist
- Short Ebook
- Guide to ___ PDF
- Mini-course
- Quick tips
- Free printable ___
- Templates
- __ Day Challenge
- Anything you can create that your readers will want!
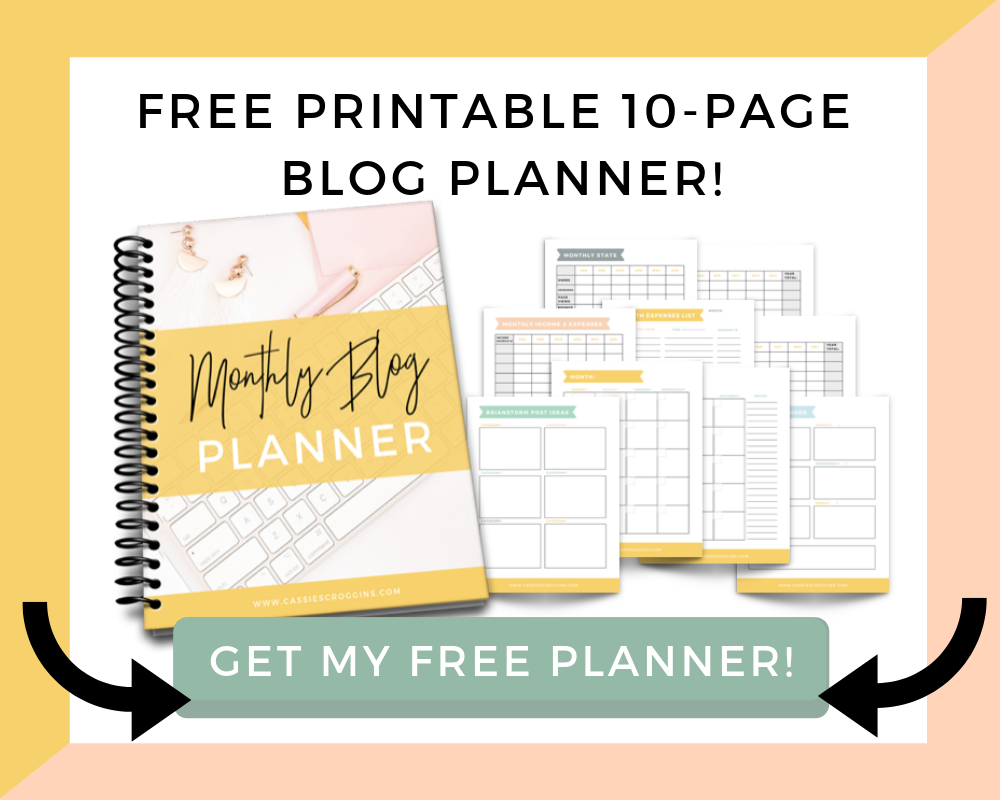
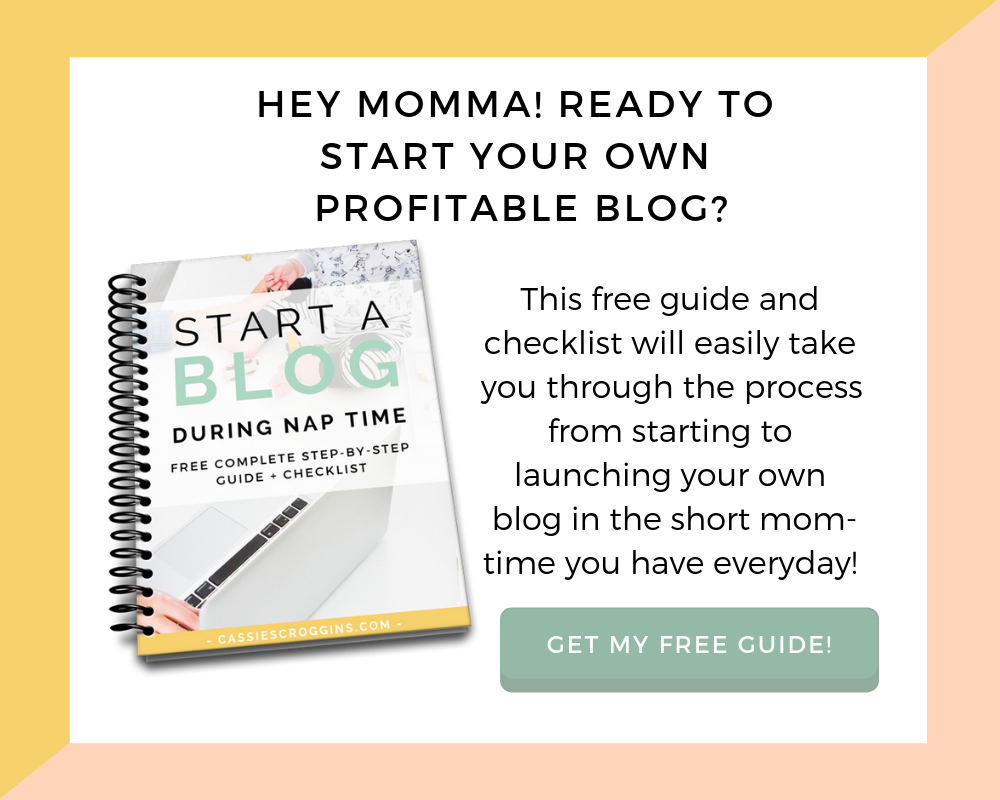
I have two opt-in incentives on my blog. My Free Start a Blog Checklist, and my Free Printable Monthly Blog Planner.

Think about who you are trying to reach with your blog and their pain points. What would make their lives easier and what could they get excited about? Once you have an idea, make it, and it’s time to get some subscribers!
Step 3: Add opt-in forms to your blog.
Now that you have your email provider and your lead magnet/opt-in incentive made, it’s time to add opt-in forms to your site so people have a place to actually subscribe!
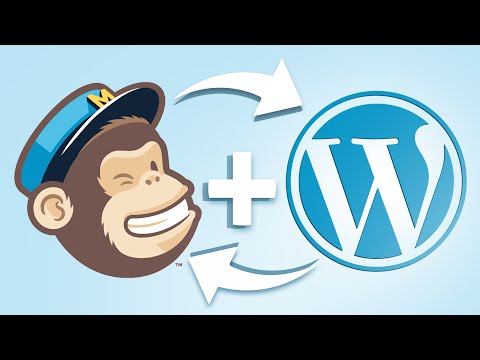
If you have MailChimp, there is a MailChimp WordPress plugin that easily adds an opt-in form to your site. Below is a video tutorial that will show you how to easily use it to get your opt-in form onto your blog. (it’s kinda slow but it gives you the info you need!)
You can insert that code into your sidebar, a page, or even a post to get subscribers!
Step 4: Create a Welcome email that delivers your lead magnet to new subscribers.
Now that you have opt-in forms where people can subscribe to your list on your blog you need to create an automated email that will go out right after someone subscribes that delivers your lead magnet.
This is also your opportunity to introduce yourself and let your subscribers know what to expect!
To do this in MailChimp:
- Click Campaigns > Create Campaign

- Select Create an email
 .
.
- Click Automated at the top.

- Select Welcome New subscribers.

- Select your list, and click begin.

- Edit the trigger to Immediately after a subscriber joins list.


- Click design email.

- Name your email, add a subject, and click next.

- Choose an email template.

- Create your email introducing yourself and a link to your lead magnet, then click next.

- Click next in the bottom right handcorner.

- Click start workflow!


 .
.


Now you have a welcome email set up to automatically send out your lead magnet and introduce your subscriber to yourself right after they subscribe!
Step 5: Nurture and Keep Your list warm!
The last thing to do when you’re starting an email list for your blog is to nurture your subscribers and keep them warm.
This means that you are sending them weekly emails and keeping them engaged! If you build your list but never send out an email you are going to grow a cold list and when you finally have something to say, there is going to be way more unsubscribes following.
I know this can be super hard when you’re brand new because you’re probably spending a lot of time on content already but don’t forget to send something to your readers! At least a weekly “what’s coming” email.
Now get going and growing that list of loyal raving fans showing up just. for. you! These are your people so don’t forget about them!
Ps. you can join my tribe of bloggers and receive my free monthly blog planner below!

